|
||||||||
Extracting images from backgrounds |
||||||
There are several methods for extracting images and it may be necessary to use all of them on different parts of an image depending upon the colours and complexity of the image at that point. Extracting images such cars, ships or similar objects with well defined edges is simple the difficult part is when you are extracting a person with feathery hair who is placed against a non-uniform background. The main techniques are
|
||||||
Magic wandThis can work well and quickly when the background is a uniform colour and when the edge is well defined such as against clothing, but is no use against feathery hair. Even when used on suitable areas it is necessary to manually check the edges chosen and feather the selection by 1 or 2 pixels. |
||||||
ExtractThis filter allows you to roughly define the edge of a subject and Photoshop will determine where the edge lies and remove the background colour from the overlapping region. This works up to a point and like the magic wand works best on clothing but does a slightly better job on hair. |
||||||
Background eraserThe background eraser is a version of the Extract tool that can be applied locally. It shines and suffers in the same areas as the extract tool. |
||||||
Channel masksCreating masks from the information in the channels creates the best results but is significantly more time consuming and will often still need to be done seperately to different parts of the image and then recombined. |
||||||
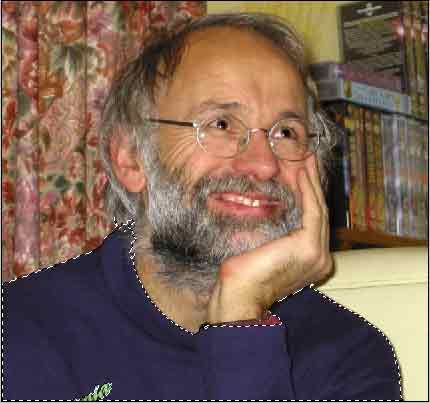
Tutorial taskI'm going to attempt to extract the image of my brother from the background of a patterned curtain, and wall. His clothing has well defined edges but his hair is set against bright, dark and patterned backgrounds. |
||||||
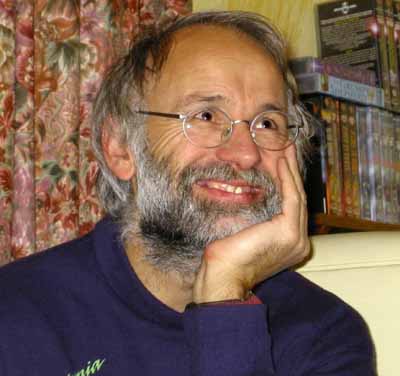 original size is 1278x1200
 |
||||||
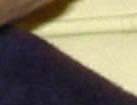 Well defined edges of clothing
 |
||||||
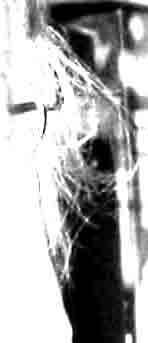
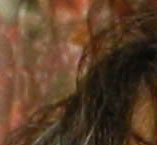
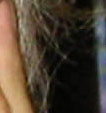 Hair against dark background
 |
||||||
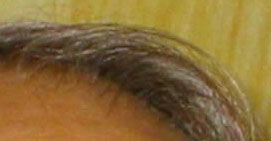 dark and light hair against light background
 |
||||||
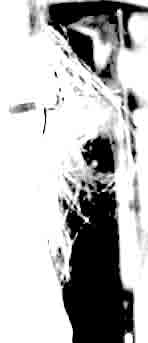
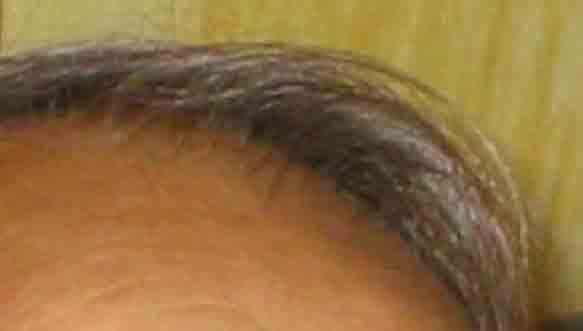
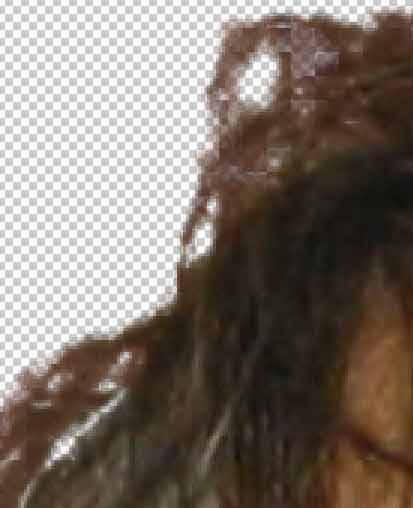
 Hair against a patterned background
 |
||||||
| There is no one technique which will do a satisfactory job on the whole image so it will have to be split up into several sections. | ||||||
Clothing and items with defined edgesMethod 1 - Magic wandUsing the Magic wand on the clothing witha broad tolerence (here set to 50) you can select the whole of the jumper in a single click.
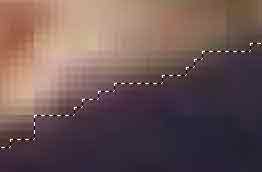
Zooming in to 800% we can see the selection is pretty good but has tended to follow the jpeg artifacts somewhat.
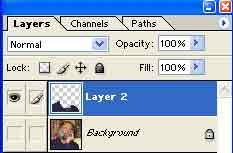
Smooth the selection by 1-2 pixels if necessary and feather (Ctrl Alt D) by 1-2 pixels. Duplicate the layer (this will only duplicate the selected area. This gives us an good edge which will fade slightly into the new background
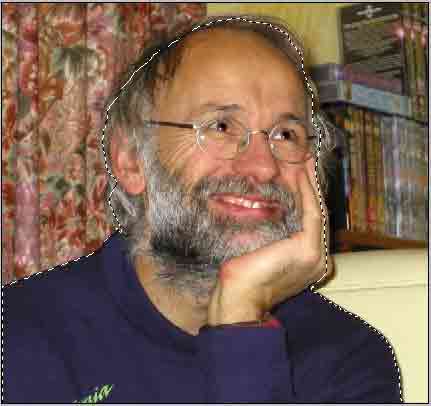
That's the basic clothing done - i.e. the easy bit In reality when I had the clothing selected I added to the selection by manually drawing a rough outline capturing the face, hands and some of the hair. This just makes the job easier later as I don't have to worry about that area. If you keep well inside the edge of the hairyou don't have to be too accurate. Select the lasso and SHIFT click and draw to add to the clothing selection.
|
||||||
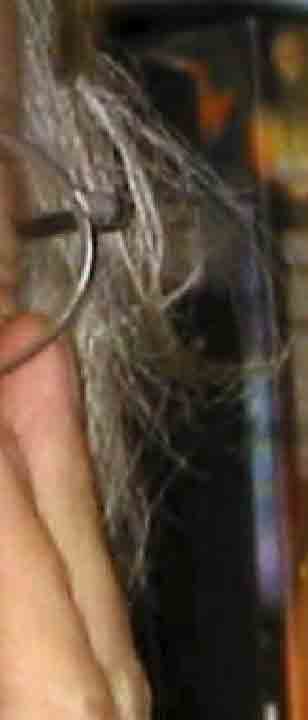
Hairs against a plain background
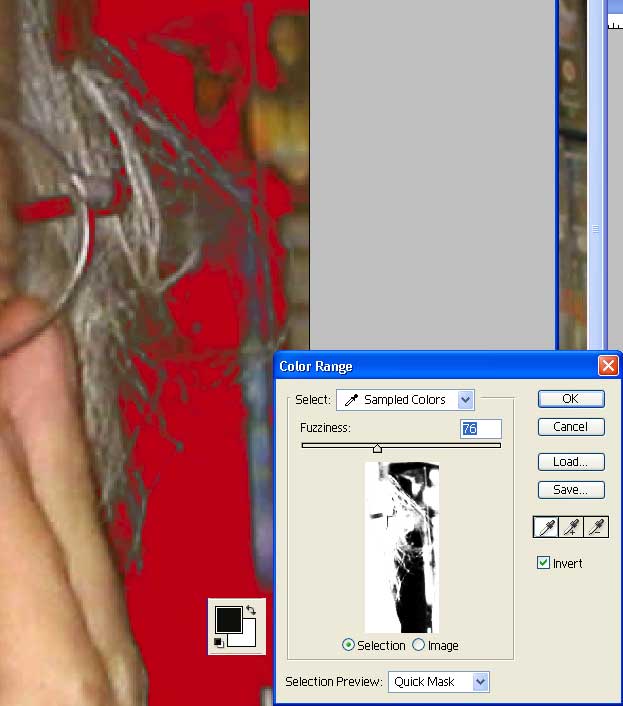
Method 1- Colour Range selectionThis tool is useful when there are fine hairs against a plain background as it enables you to vary the fuzziness of the match and see the results in real time. With the dropper tool set the foreground colour to the colour you wish to remove Goto Select-> Colour Range Set the
OK the box, this will show a selection. If any of the areas are slected which shouldn' t be or vice versa, Here the edge of the glasses and deep shadows which aren't at the edge of the head should't be selected but the DVDs on ther right should be. Go into quick mask mode and paint with a with white brush over any obvious areas to keep and black over areas to discard Turn quick mask off and check the selection
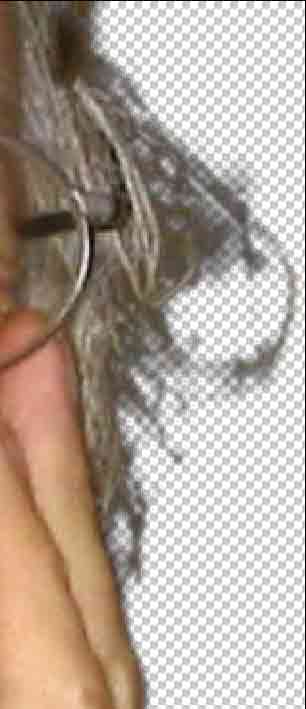
I also painted in the long curved hair on the right with a single sweep of the brush, nothing fancy.
Method 2 - Channels tool
Duplicate the layer and look at the result (if it's wrong Ctrl Z invert the selection (Shift Ctrl I) and duplicate again) As with other colour Range methods it looks better if you select the background, feather it 1 pixel and delete it
Method comparison
You now have two extracted sections |
||||||
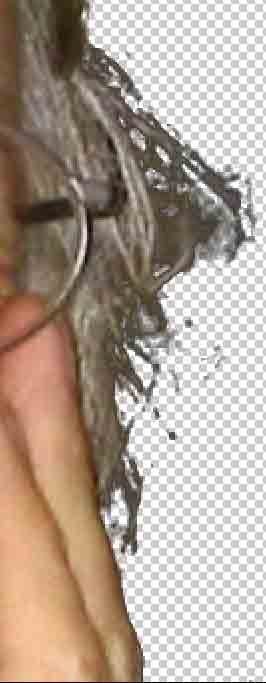
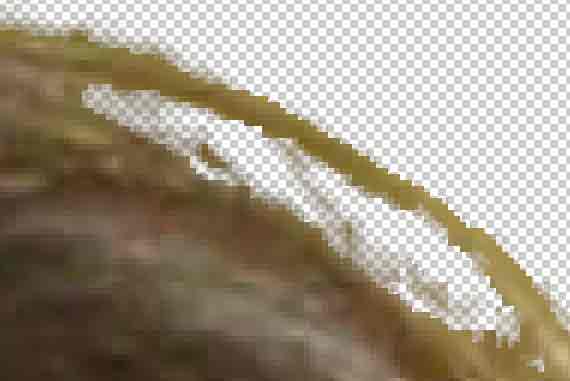
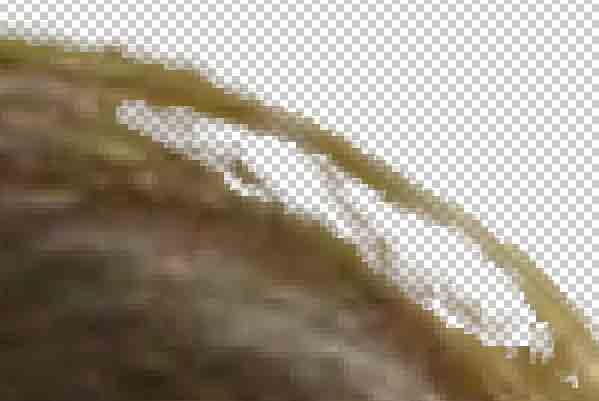
Hairs against a textured backgroundMethod 1 - Colour range2 minutes with the colour range tool converted
to
Method 2 - Extract tool
and the result
Not wonderful and the edges are a bit harsh but usable Selecting the background, smoothing (3 pixels) and feathering (3 pixels) and deleting gives us a more usable image (but so would it have done for the colour selection example.
In this instance I prefer the results from the colour range tool You now have three extracted sections |
||||||
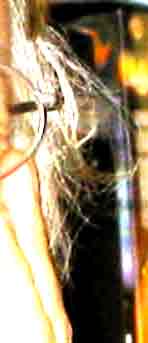
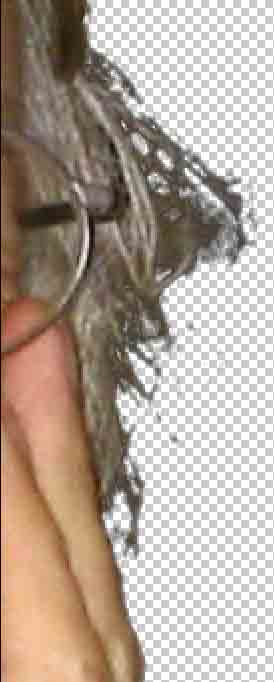
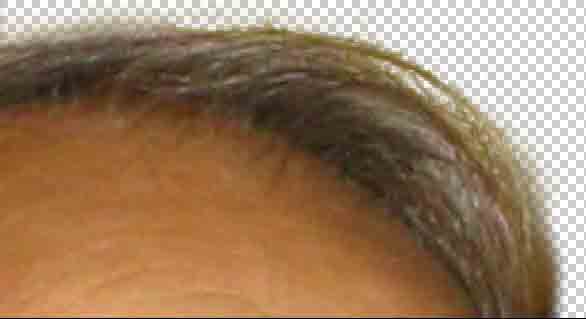
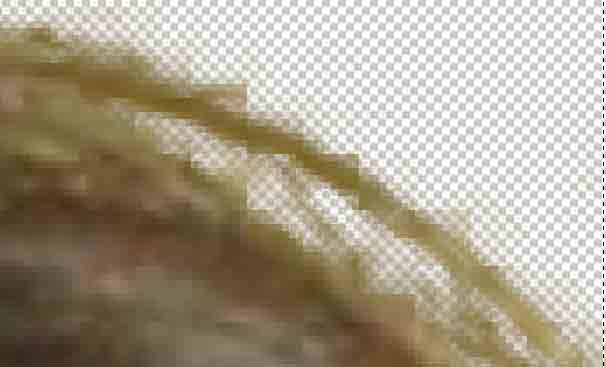
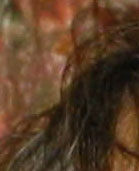
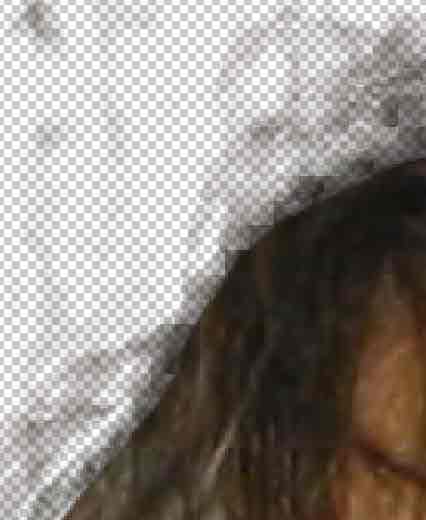
Hairs against a light and dark patterned backgroundHelp is about all I can say here
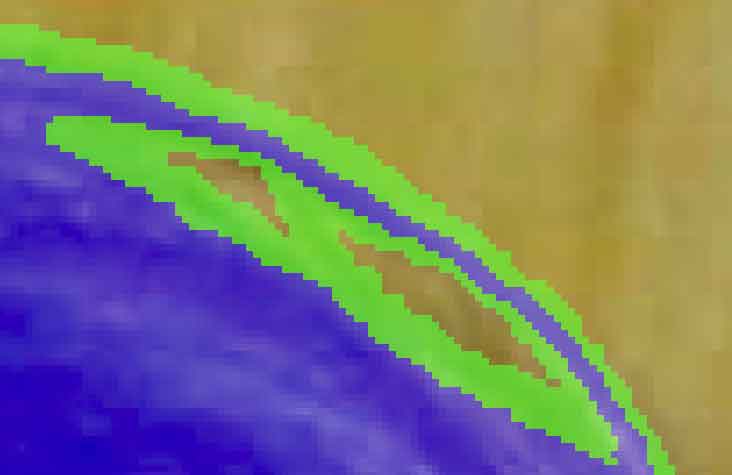
The best I can achieve is by using the colour range technique selecting the hair rather than the background and working thereafter as before.
You can see the sharp edge where I went over the head with large brush in Quick edit mask. The hairs though are too faint. this is rectified by simply duplicating the layer several (5) times, The transparancy is reduced for every duplication. Copy Merge all the duplicated layers and erase any stray bits of background.
|
||||||